In this article, we will talk about the step-by-step system of making a butcher block- cutting board. If you want to know about How to oil a cutting board. Read the article.
A butcher block cutting board is now not solely a useful kitchen device; however, it additionally provides a rustic and stylish contact to your kitchen décor.
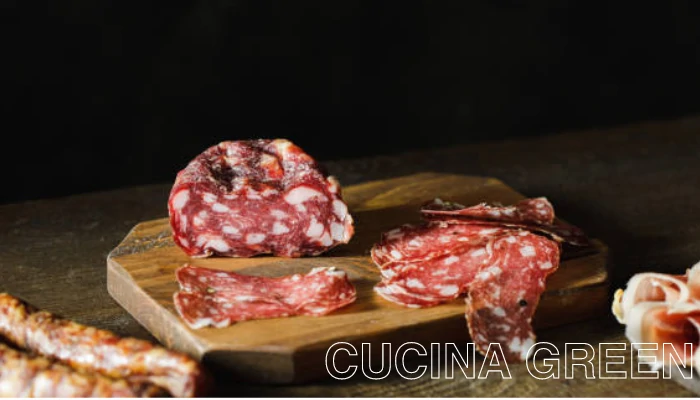
Following these instructions, you can create a special and personalized reduction board.
Materials and Tools Required
To make a butcher block slicing board, you will want the following substances and tools:
- Hardwood boards (such as maple, walnut, or cherry)
- Table noticed or round saw
- Miter noticed, or hand saw
- Router with a straight bit
- Clamps
- Wood glue
- Sandpaper (various grits)
- Food-safe end (such as mineral oil or beeswax)
Choosing the Right Wood
Selecting the proper timber is fundamental for a long-lasting and long-lasting slicing board.
Hardwood species like maple, walnut, and cherry are perfect options due to their sturdiness and herbal antimicrobial properties.
If you want to know about How to make a butcher block cutting board. Read the article. These woods additionally grant a stunning grain pattern, making your slicing board a visible delight.
Preparing the Wood
Before beginning the development process, ensure your wood is appropriately prepared.
This includes milling the timber to a regular thickness and providing all the boards are flat and straight.
Use a jointer and planer to reap this. This step is imperative to ensure balance and uniformity in your slicing board.
Planning and Designing the Cutting Board
The subsequent step includes planning and designing your slicing board. Consider the size, shape, and thickness you wish for your slicing board.
Sketch out your diagram on paper, considering the on-hand timber dimensions and your private preferences. This will assist you in visualizing the quit result earlier than intended.
Cutting the Wood Strips
Once the layout is ready, it is time to reduce the wood into strips. Use a desk or round noticed to reduce the boards into equally-sized strips.
The width of these strips will decide the thickness of your reducing panel. Ensure that all the strips are reduced exactly and uniformly.
Gluing the Strips Together
Now comes the thrilling section – glueing the timber strips together. Apply a skinny layer of timber glue to every part of the strips and region them together, alternating the grain path for brought strength.
Use clamps to keep the strips firmly in place. Ensure that the glue is evenly unfolded and there are no gaps between the strips.
Clamping and Drying
After glueing the strips, clamp them securely to furnish even strain and get rid of any attainable warping. Leave the glued board to dry for at least 24 hours.
If you want to know about How to make 3D Cutting board. Read the article. This allows the wooden glue to therapy and creates a robust bond between the strips.
Sanding and Smoothing the Board
Once the glue has dried, put off the clamps and sand the slicing board. Start with coarse-grit sandpaper and regularly go to finer grits.
This technique helps eliminate any glue residue, smooth the surface, and attain a flawless finish. Pay more interest to the edges and corners to avoid sharp edges.
Cutting and Shaping the Board
After accomplishing a clean surface, it is time to reduce and form your cutting board. Use a mitre or hand saw to trim the edges and create the favoured shape.
You can choose rounded corners or any format that fits your preferences. Take your time to make sure easy and particular cuts.
Applying Food-Safe Finish
Observe a food-safe finish to shield and beautify the splendour of your reducing board. Mineral oil is a famous desire as it nourishes the timber and prevents it from drying out.
Beeswax is any other super option, as it adds a herbal shine and protects in opposition to moisture. Apply a couple of coats of the chosen finish, permitting adequate drying time between every coat.
Seasoning the Butcher Block Cutting Board
Before using your reducing board, it is imperative to season it. Seasoning helps seal the timber and grow a defensive barrier in opposition to microorganisms and moisture.
Generously observe food-grade mineral oil or a mixture of mineral oil and beeswax. Allow the board to take in the oil overnight, and repeat the technique every few weeks for the greatest maintenance.
Maintenance and Care Tips
Proper protection and care ensure the sturdiness of your butcher block slicing board. Avoid submerging it in water; as an alternative, use it with warm, soapy water and a gentle cloth.
Never put it in a dishwasher or soak it for a prolonged period. Regularly oil the board to forestall drying and cracking. Avoid the use of harsh detergents or abrasive cleaners.
Benefits of Using a Butcher Block Cutting Board
Using a butcher block- cutting board affords many benefits. These boards are mild on knife blades, lowering the probability of dulling or chipping.
They have a self-healing nature, minimizing reduced marks and extending their lifespan.
Furthermore, wood has herbal antimicrobial residences that assist in inhibiting microorganism growth, making it a protected and hygienic desire for meal preparation.
FAQs
What kind of wood do you use to make a butcher block?
The wood used to make butcher blocks is often difficult maple. Other appropriate preferences encompass oak, cherry, and walnut.
Can you make a cutting board out of butcher block?
A slicing board can be made from a butcher block. The butcher block is frequently used as a cloth for reducing boards due to its sturdiness and resistance to knife marks.
What is the best material for a butcher block cutting board?
The fine fabric for a butcher block slicing board is normally challenging maple. It is regarded for its strength, density, and capacity to face up to knife cuts besides negative the surface.
Other hardwoods like oak and walnut are additionally many times used.
Is the butcher block correct for cutting boards?
Yes, butcher block is a first-rate desire for cutting boards. It presents a sturdy and long-lasting floor that can face heavy use and is much less susceptible to dulling knives than different materials.
However, suited preservation, such as normal oiling, is critical to preserve its quality.
What is the cheapest wooden for a butcher block?
A butcher block’s most inexpensive timber choice is normally birch. While it may not be as long-lasting as challenging maple or different hardwoods, it can be a reasonable desire for these on a budget.
Conclusion
Following the step-by-step guidelines outlined in this article, you can create your stunning and purposeful butcher block-reducing board.
Remember to select the proper wood, assemble it properly, and pay interest to the ending touches. With normal maintenance, your cutting board will serve you nicely for years.
